For orders over $3000 call for pricing! 7-10 Day Lead Time on Non-Stock Items!
We have the best prices on the web for custom USA made stair parts.
Coming Soon
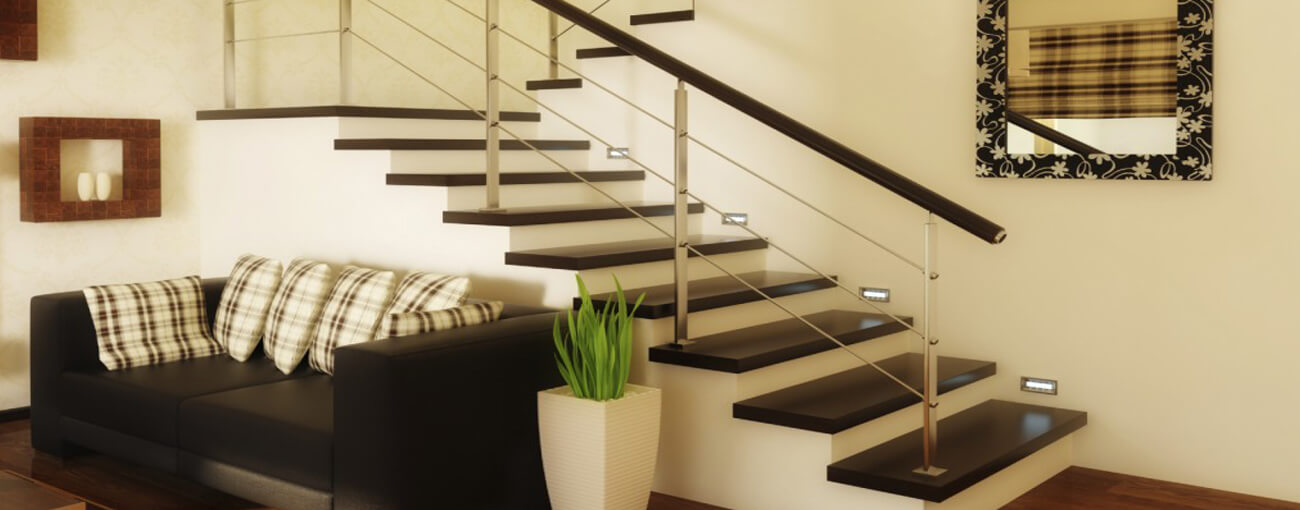
WoodStairs.com is the oldest and most trusted online resource for custom interior wood stair parts and wood balustrade components. Our online parts store was the definitive resource years before our competitors arrived on the scene. In addition to over 10 years of online stair parts sales, we have more than 25 years experience in the manufacturing and installation of stairways and banisters. WoodStairs.com understands that your stairway is the centerpiece of your home, your finest piece of furniture. Contact us today with any questions about your wood stair project needs!
You will find all your custom wood stair parts and supplies here – CHEAPER than Lowes, Home Depot, Menards, and Lumber Liquidators.
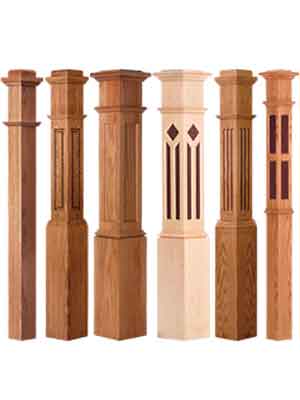
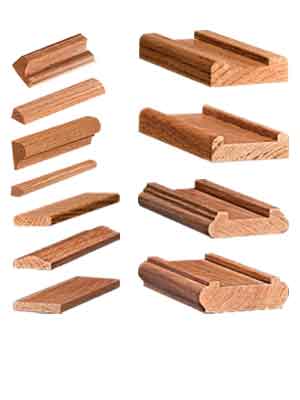
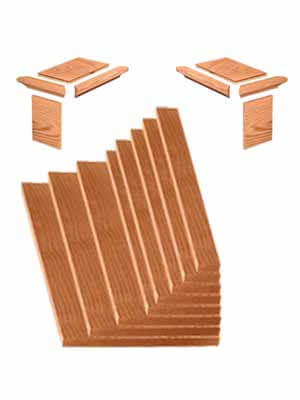
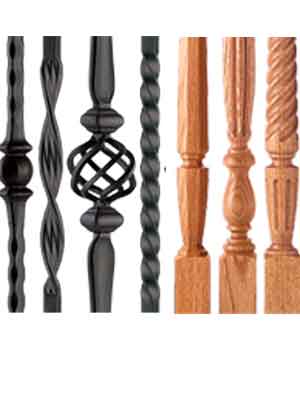
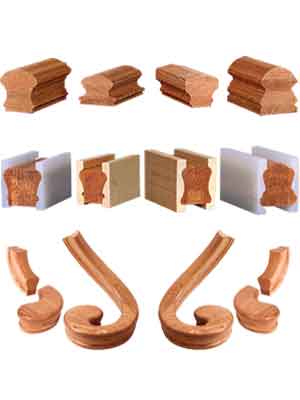
We carry all the most popular wood species including the most rare types in the world. Featured wood types: Red Oak, White Oak, Poplar, Soft or Hard Maple, Ash, Walnut, Hickory, Pine, Cedar, Alder, Cherry, and Hemlock. Rare types include: Brazilian Walnut (Ipe), Brazilian Cherry, Teak, Mahogany, Purpleheart, Sapele and more! Order your stair parts and we make them custom in house within a week or so depending on the type of lumber required for your stair parts. We make custom stair treads, handrailing, posts, & trim for any size job.
More About WoodStairs.com